## Understanding Chipboard Wallpaper
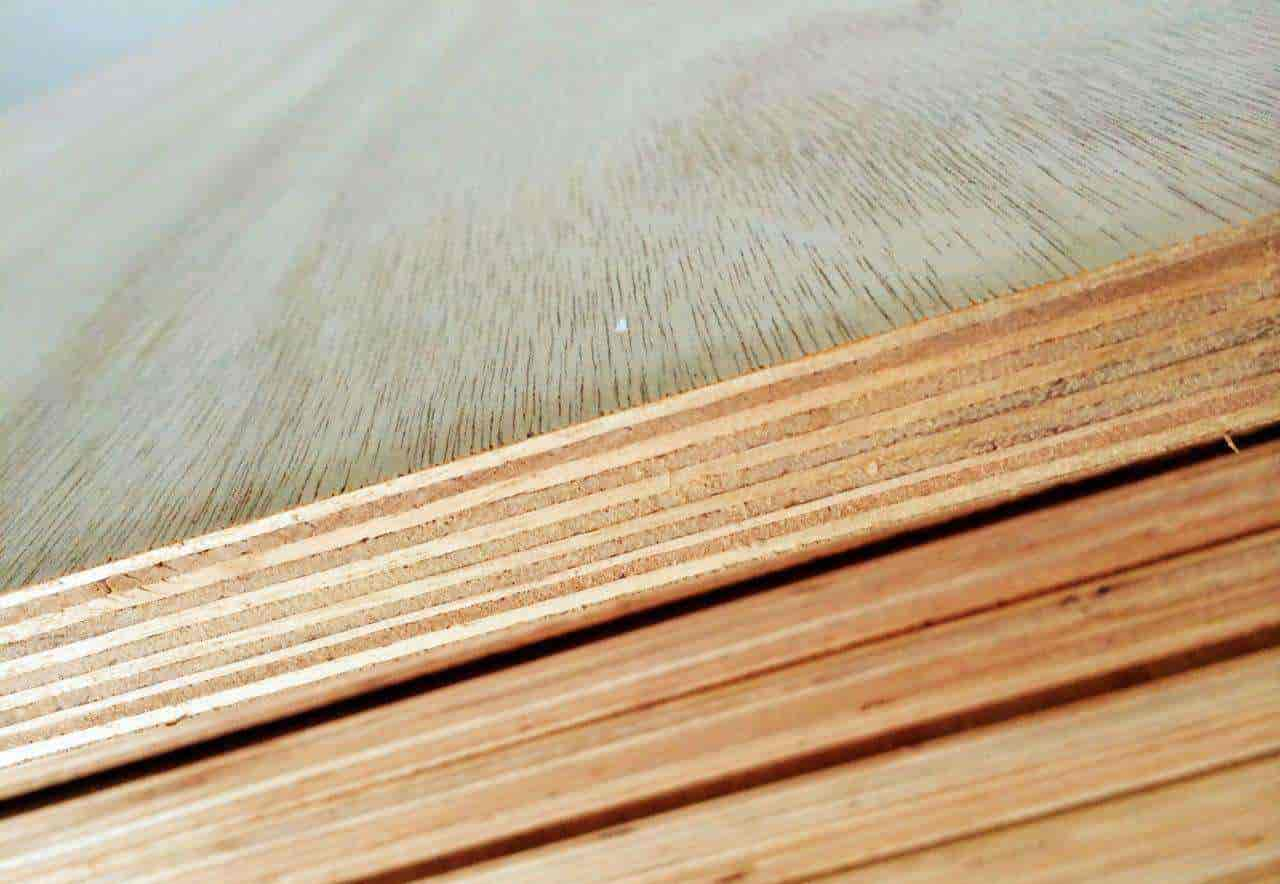
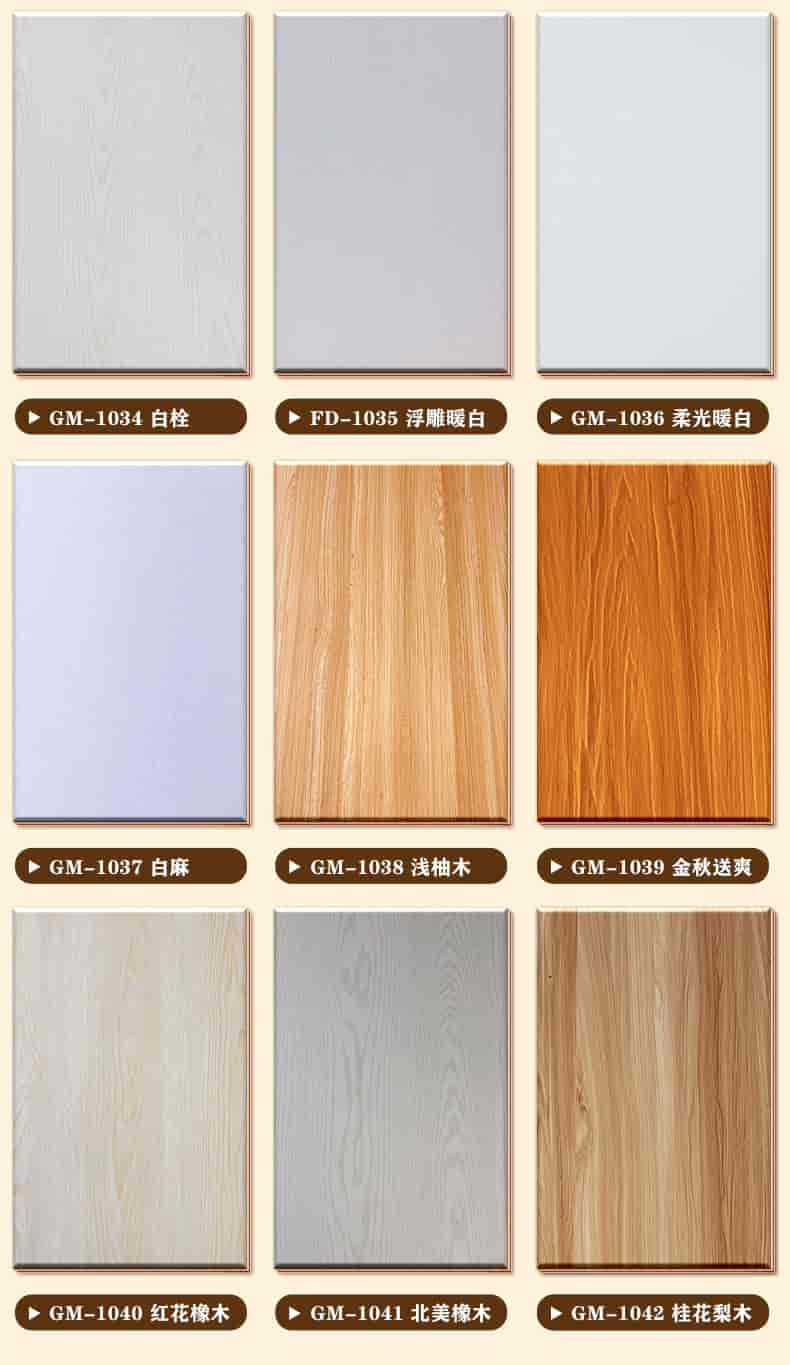
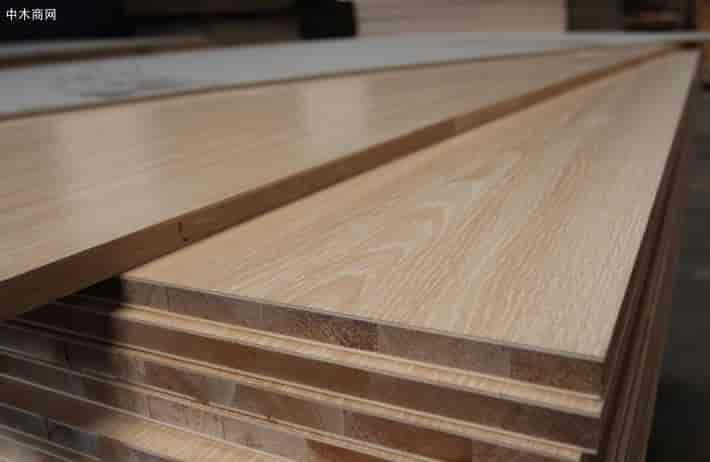
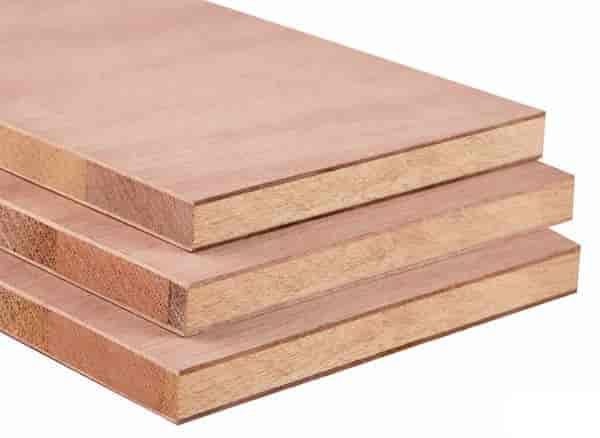
Chipboard wallpaper has become increasingly popular in the world of interior design and renovation. This type of wallpaper comes with a unique texture that resembles wood chips or flakes embedded into the surface layer, providing a distinctive look to any room. The chipboard effect is achieved by pressing small chips or shavings of various materials such as oak onto a substrate.
The use of chipboard wallpaper can transform a room’s ambiance from dull to captivating. Available in a range of colors and textures, it offers homeowners a way to bring warmth and depth to their living spaces without the high cost associated with traditional wooden paneling. Additionally, its durability makes it ideal for high-moisture areas like bathrooms and kitchens, where regular wallpaper may not hold up well.
## Removing Chipboard Wallpaper: A Comprehensive Guide
Removing chipboard wallpaper requires careful consideration and patience. Unlike other types of wallpaper, chipboard can be more challenging due to its textured nature, which tends to grip onto the wall’s surface firmly. Here are some steps to guide you through the removal process safely and effectively.
### Preparation
Before starting, ensure that you have the right tools and materials at hand. You will need a scoring tool or wallpaper stripper, a steamer or hot water, a scraper, and a bucket of warm water mixed with a mild detergent. Additionally, protect your floor with drop cloths or plastic sheets to catch any debris or moisture.
### Scoring and Wetting
Begin by using a scoring tool to create shallow incisions on the surface of the chipboard wallpaper. This step helps to break down the adhesive bond between the wallpaper and the wall. After scoring, use a steamer or apply hot water with a sponge to wet the wallpaper thoroughly. Allow it to soak for a few minutes to soften the glue further.
### Scraping Carefully
With the wallpaper sufficiently wet and the adhesive loosened, start scraping gently from one corner of the room, working your way across. Use a wide scraper to remove larger pieces and a narrow putty knife for the edges and tricky corners. Be cautious not to damage the underlying wall surface. As you progress, periodically re-wet the wallpaper to maintain the softened state of the adhesive.
### Cleaning the Wall
After removing all the chipboard wallpaper, wash the walls with a solution of warm water and mild detergent to eliminate any remaining glue or paper residue. Rinse the walls thoroughly and allow them to dry completely before proceeding with painting or applying new wallpaper.
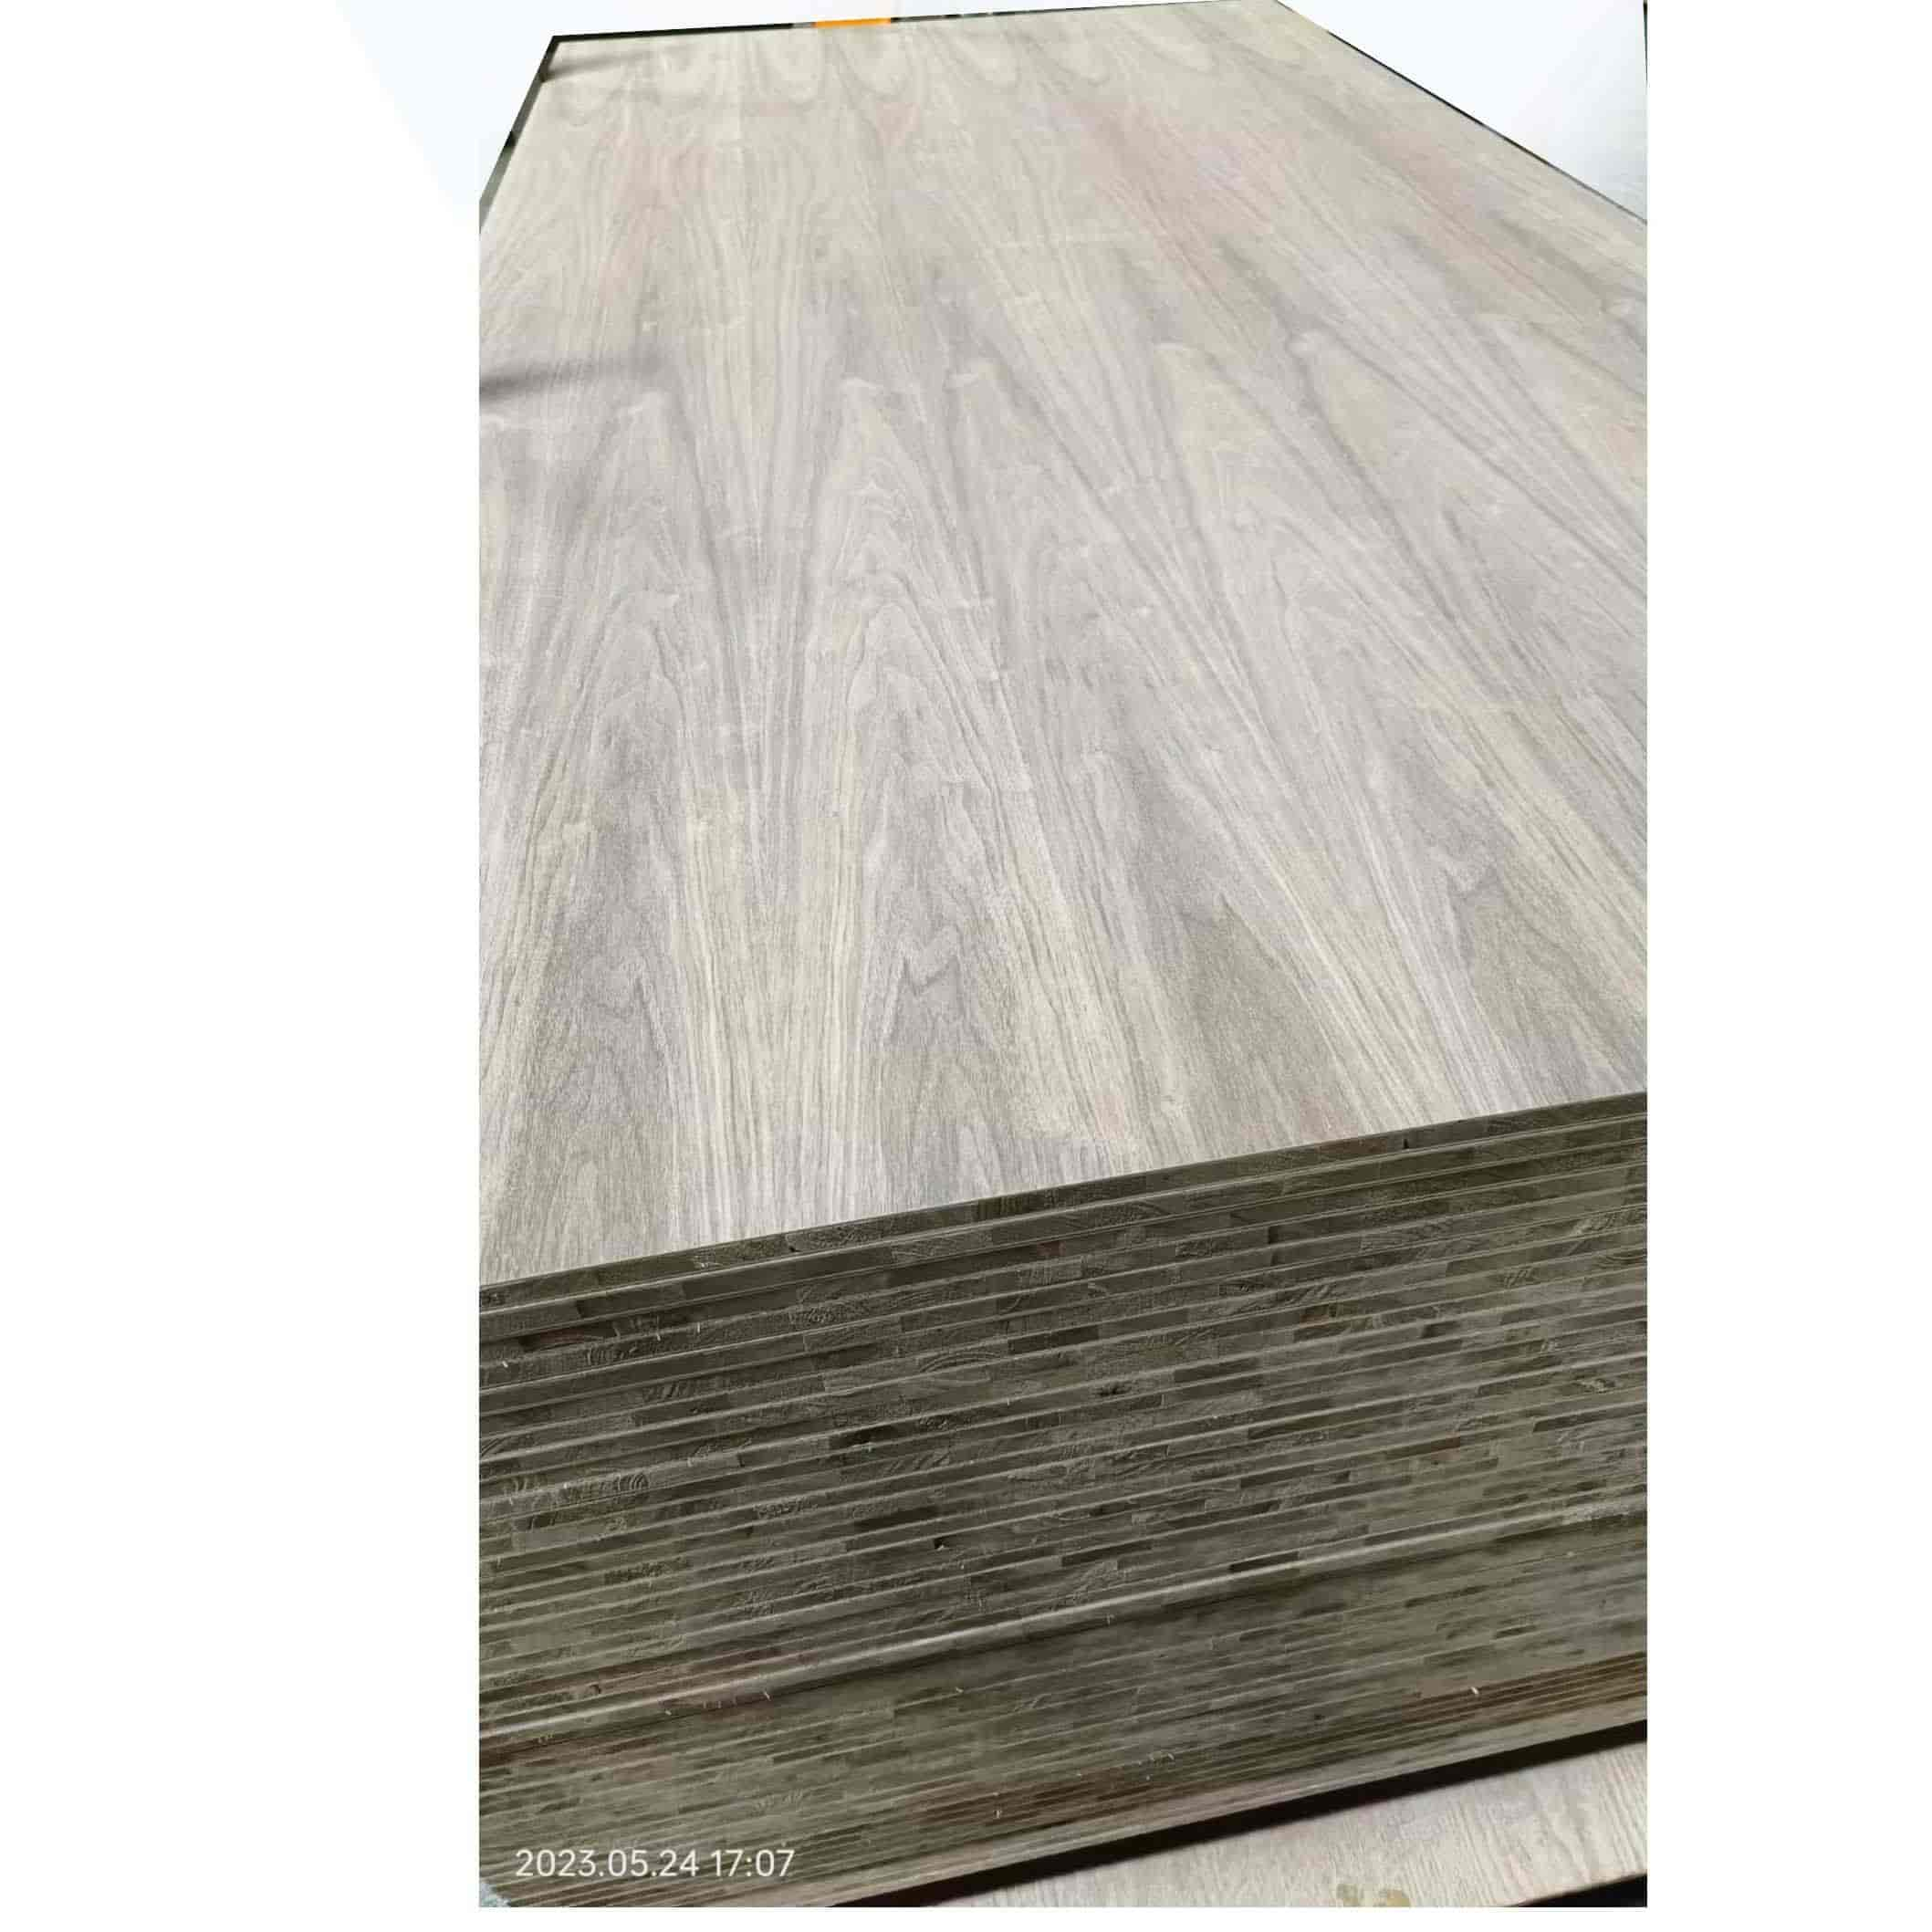
### Oak Chipboard Considerations
When dealing with oak chipboard specifically, it is essential to consider the hardness of the material. Oak is denser than other woods used in chipboard production, potentially making it stick more tenaciously to the wall. In this case, additional patience and caution during the scoring and wetting stages might be necessary. It might also be beneficial to leave the hot water or steam on the affected areas for a more extended period.
## Final Thoughts
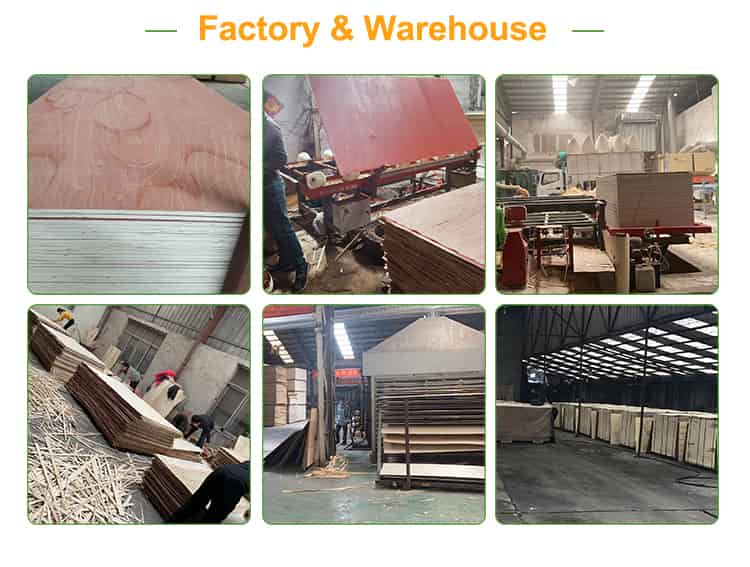
While removing chipboard wallpaper is a manageable task for DIY enthusiasts, it does require time and effort. By following these steps carefully and patiently, homeowners can successfully remove their chipboard wallpaper without causing significant damage to their walls. For those interested in purchasing new chipboard products or exploring options such as exterior chipboard or chipboard for sale, it’s advisable to consult with builders who specialize in these materials to ensure the best results.